Ties or Pearls? 🙂
Our Gender Reveal party was everything I ever could have asked for. And then some. Our wonderful, sweet, generous, loving, friend of the family and creative friend Christi Dudek helped me throw this soiree, and without her this all wouldn’t have been the same. We had been planning it for a little while for mostly family, just a casual but cute gender reveal party, no big deal! 🙂 Other than knowing the future for the rest of my life, but no big deal! 🙂 It was sweet of her to handle the gender reveal part so our family could just come and enjoy the party 🙂
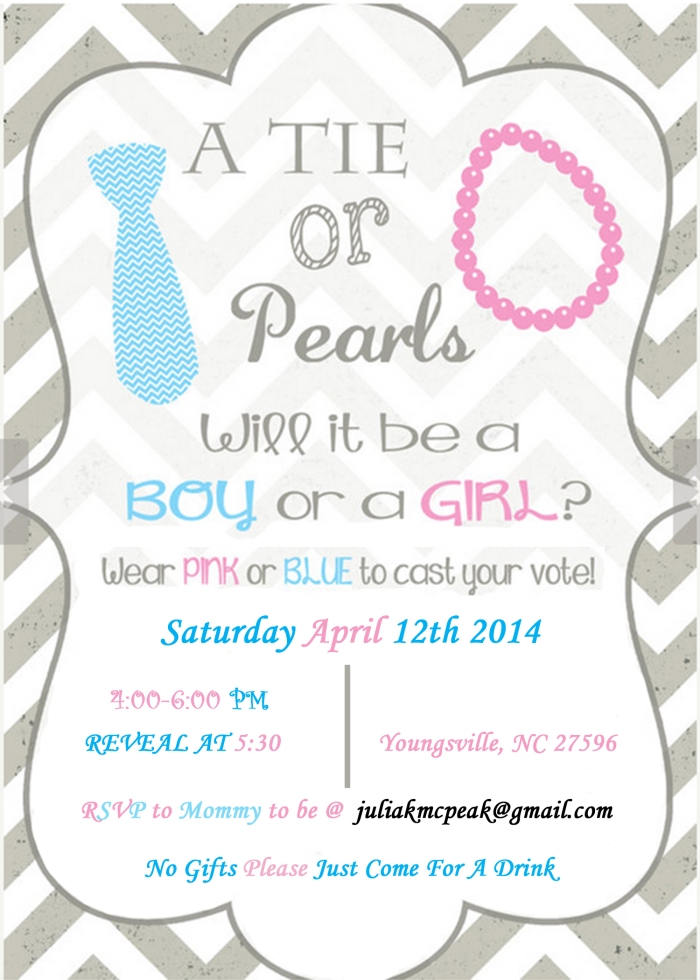
Ties or Pearls? What’s it gonna be? 🙂 I just did a simple invitation for our family, see below!
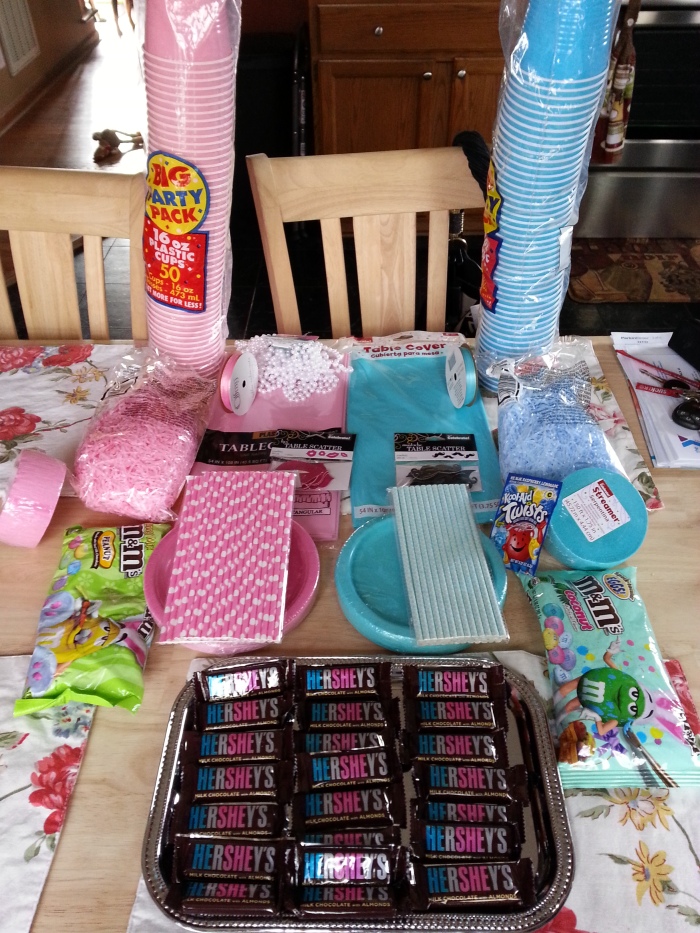
“Starting the crafting early! Rainy day fun”- Instagram

More prepping! To BJ “Wait, did I go overboard?” haha. Thanks Pinterest. This is all your fault. *note, there is more that is not pictured. It also doesn’t include the goodies Christi got either. haha! I guess we both had alot of fun with this!
From the beginning I had always said I thought it was a boy. BJ and I both had dreams it would be twin boys (both dreams happened about 5 months before getting preggo) but the twins part was wrong, could the boy part be too? Usually my dreams are spot on, call me crazy but it’s a gift! I even had a dream about being pregnant on Christmas eve, and I was right!
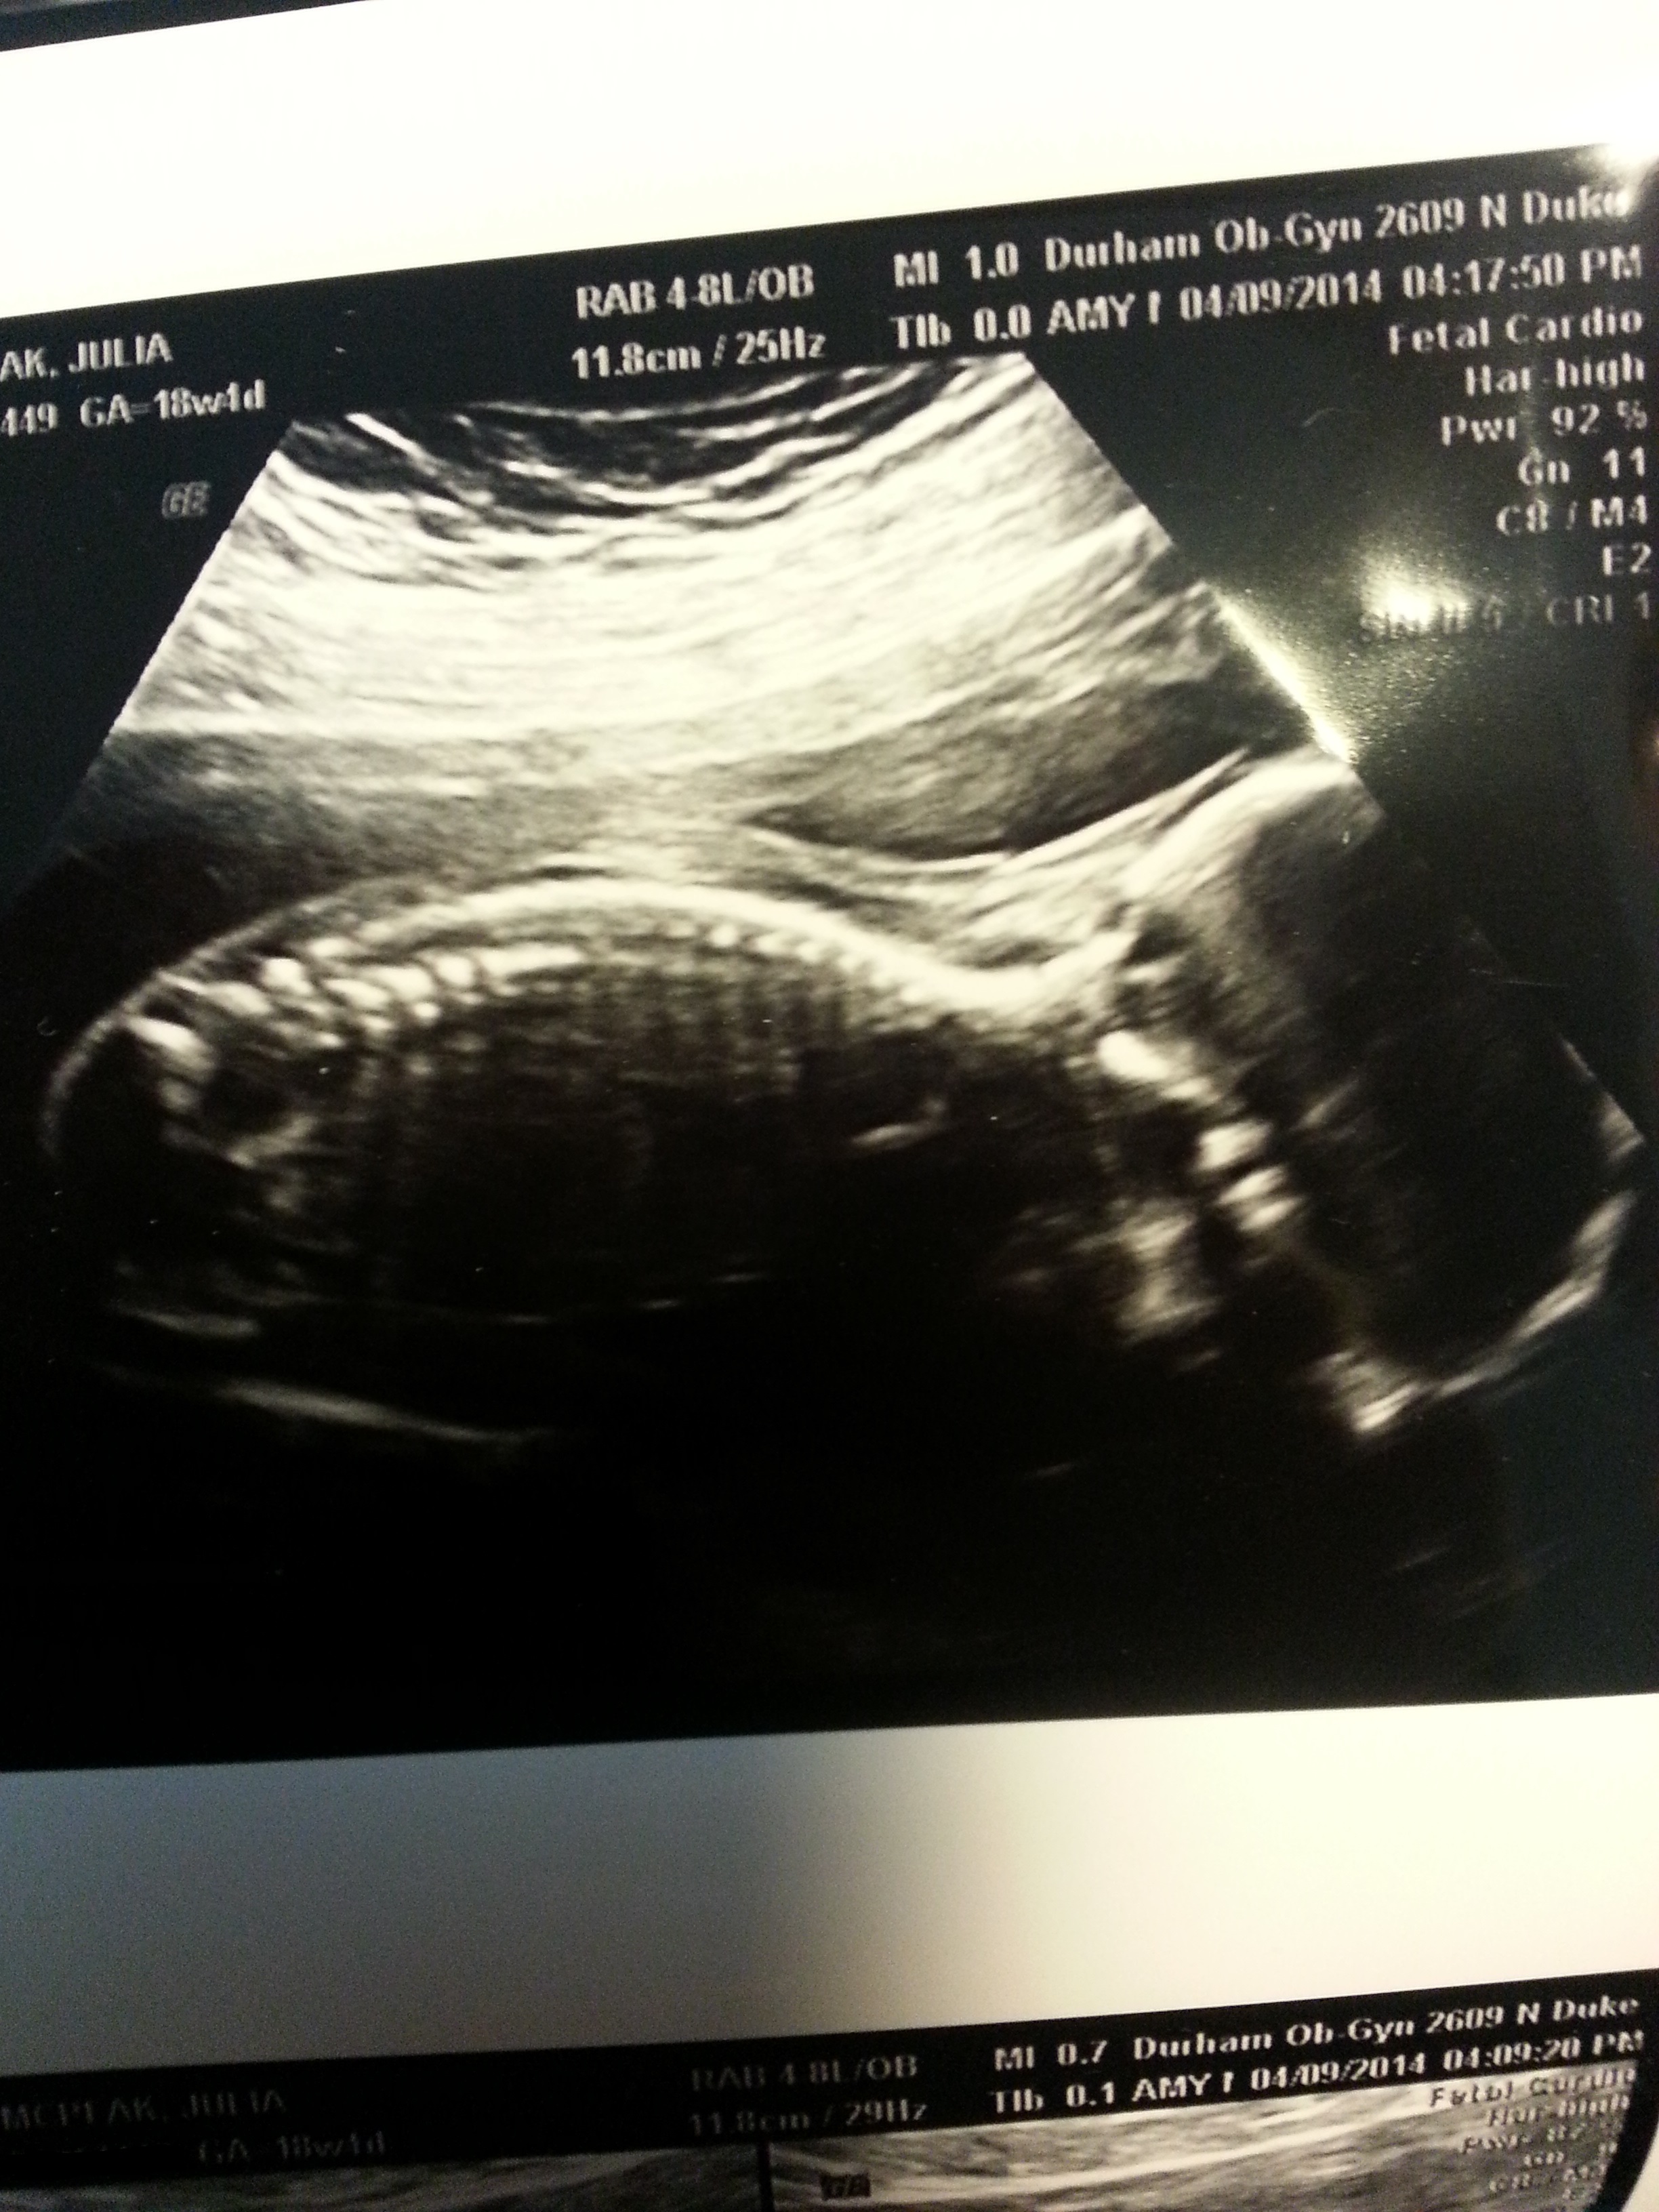
“Our dinosaur baby” as we said that day, I even said to beej, “See! it even LOOKS like a boy. like a cute dinosaur or something.”

Day of the Ultrasound, waiting impatiently on my lunch at work to get off and go to the ultrasound 🙂 (Sunnies, the loft! 🙂

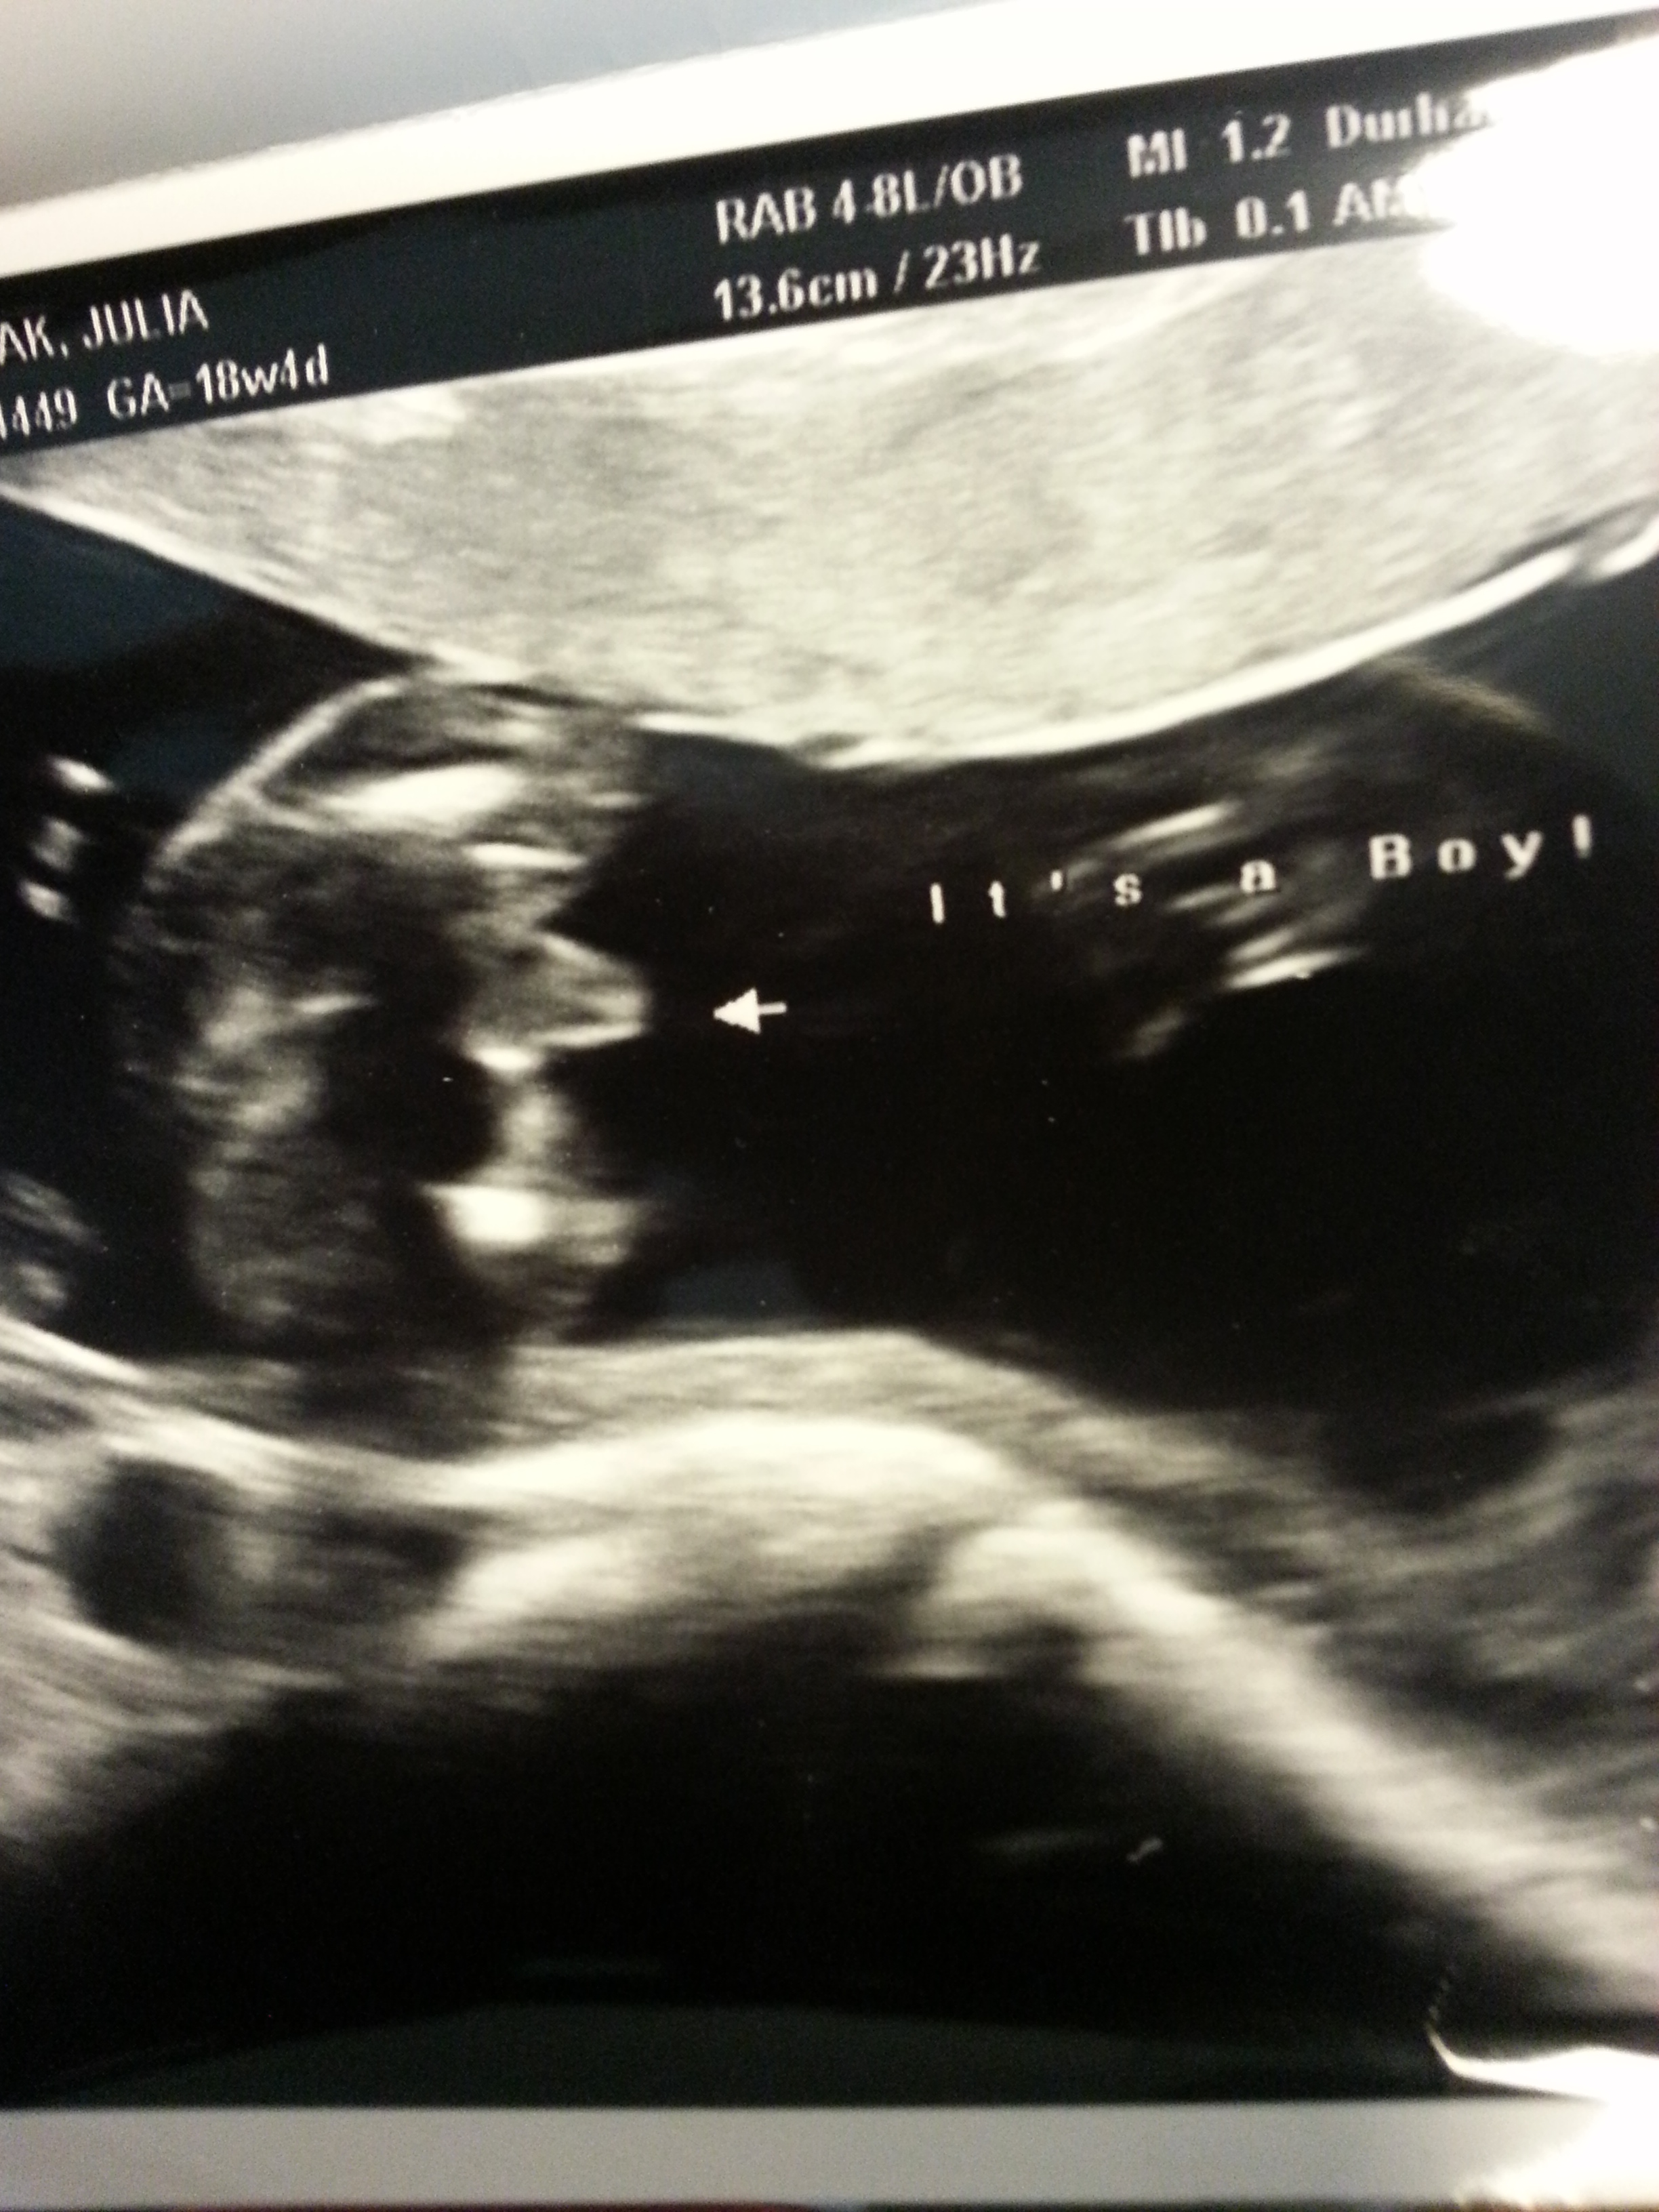
After we went to the ultrasound they told us not to look and they snapped a picture of our baby’s sex and wrote the proper sex on the picture. We immediately came home and got our friend Christi to take it from us, we couldn’t handle the pressure. Bj didn’t trust me to drive home with it but I told him ” NO WAY! I carry everything else around here 😉 haha!” to which he replied “fair enough, haha.”
“Someone convince me not to open this in the next 5 seconds, go.” – Instagram. Okay now I can see why he didn’t trust me. hahaha. People’s responses were worse than me!! It was like having the devil on one shoulder and an angel on the other. Most people were dying to know so they were begging me to open it.

Later when we saw the picture inside the envelope 🙂 HAHA yeah, definitely a boy! haha

Most of our families had the same theory, boy. My mom saying when she was pregnant with my brother “I never got sick but I couldn’t stay away from Avocado and Cocoa Puffs.” Well Guess who had the exact same symptoms? Yep. To a tee. But hey, coincidence? BJ’s mom actually called the baby his name from the moment we told her we were pregnant, we have known the boys name we wanted for years now. Grandmothers intuition? Maybe. My boy dog Rudder always being extra protective, loving, and sweet to me…okay sold. haha. Kidding, but I did have alot of symptoms that pointed to boy with the gender reveal tests including the headaches. The headaches I had along with a little fatigue were the worst of it. Not bad, cant complain!
“I blame my mom for this. haha! #pregnancyobsession” – Instagram

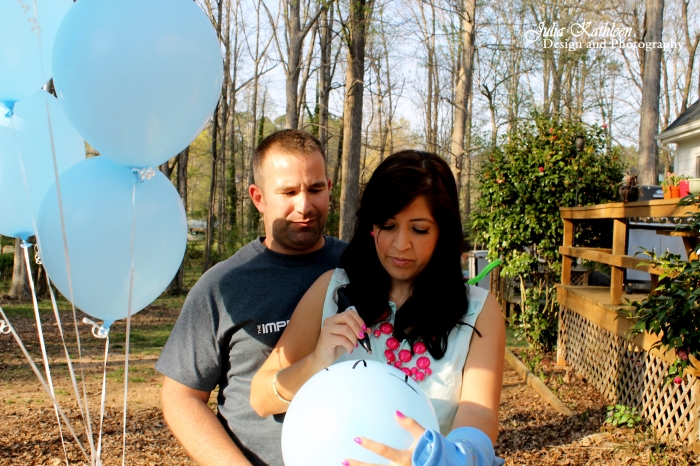
At the party we were in a rush to get started, as usual my crafting always went longer than expected with the “day of” to do list. My hair was literally in curlers while shooting photos, which wasn’t my best work due to the rush, but I will take them over no photos any day. There isn’t any actual photos of me and Bj opening the box because I got nervous right when we were going to open the box and completely blanked on grabbing my camera. haha. Opps.
Although I do have these wonderful pictures Christi took of us:

This picture with him touching my bump describes so much of our life right now. So happy to be starting this new chapter together, uncharted, scared to death, and thrilled to be parents.

Our life right now is seriously this happy, both of us are on #pregnancycloudnine Come join us!! The air is great up here, and you can fly all day long.

This was when he was asking if I was nervous, and was trying to calm me down. He was asking if I was ready to do this! I was laughing cause I was so nervous! This was to define everything in our future. NO BIG DEAL OR ANYTHING! 🙂 *note his blue ribbon on his wrist, people starting tying the color ribbon they thought it would be around their wrists.

The kiss to calm me, works every time. All these moments happened so fast, I’m surprised Christi got these play by plays, we have such wonderful friends!
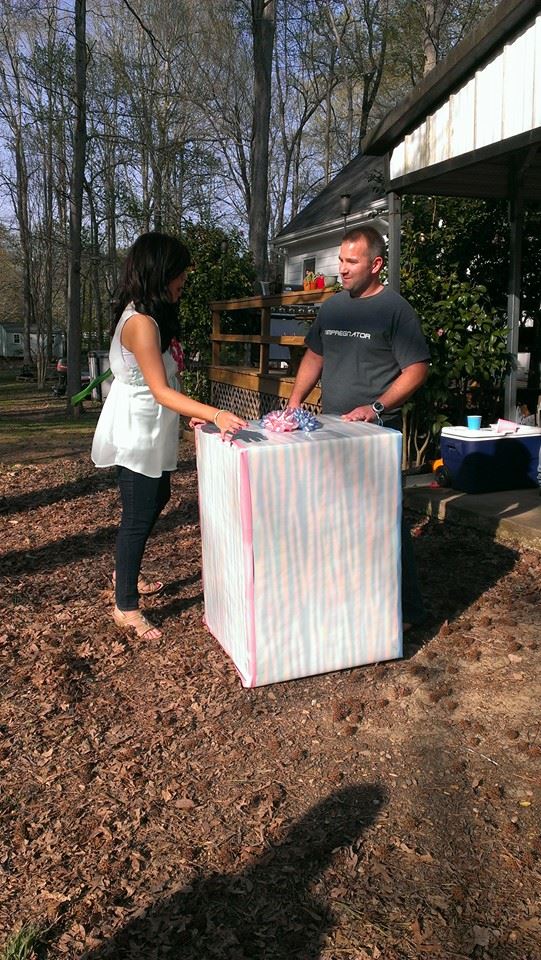
Then I said no I want to be on the other side! LOL so we switched.

Everyone was telling me not to peak, haha….who me? 😉 dang, everyone’s onto my tricks! Did I seriously just write peak? haha…wow. I meant PEEK. haha. #Mcpeaklife

And BOY!!! Bjs reaction is priceless. haha. I love it! I know we both wanted a boy so bad 🙂 What a blessing to our little family!

I think this was take 5? haha Bjs family and I taking a memorable mustache picture! 🙂 One for the books for sure, I love it! 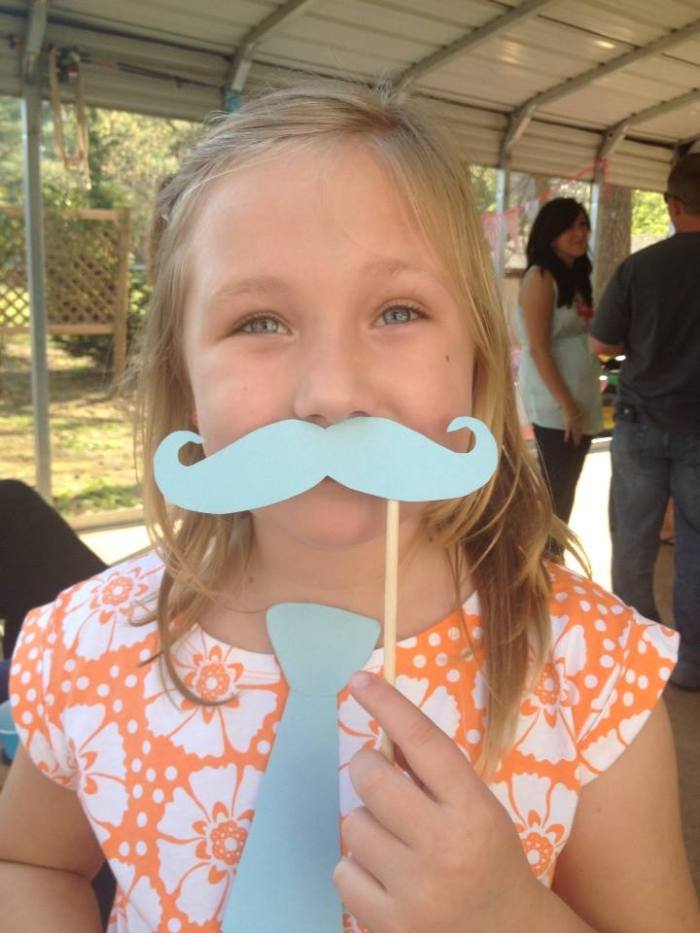
Miss Gracie was hoping for a girl but she will be happy to welcome a little boy too “I guess”, she says. haha (Love that my sister in law Missy caught us in the background here too. haha)
I also got some pictures from Sam and Chris who came to the festivities:
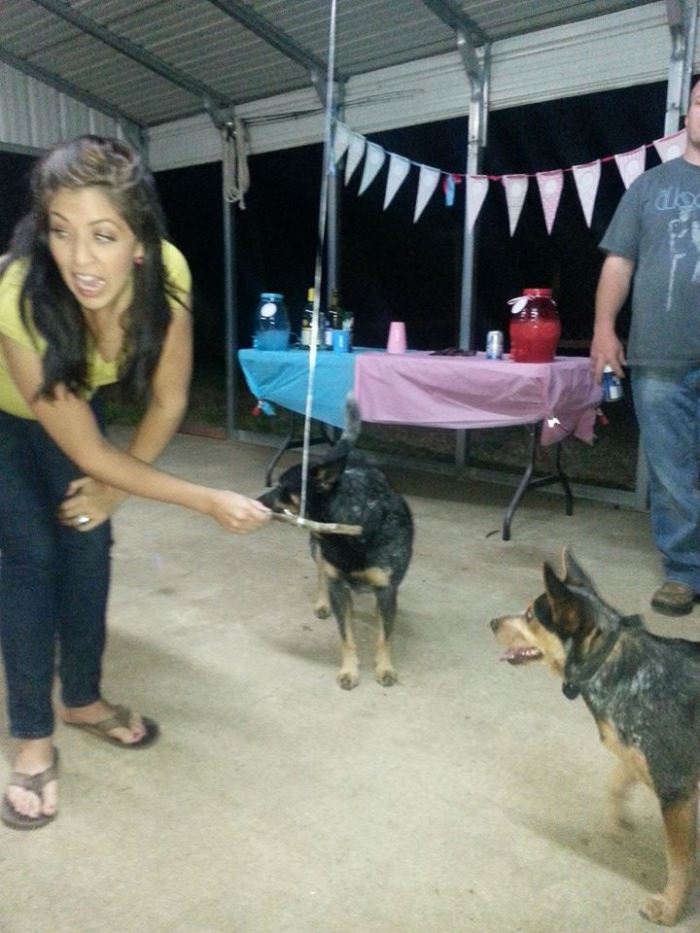
These were more of the after party. haha. Looks like my belly is tuggin on that shirt, haha cute.
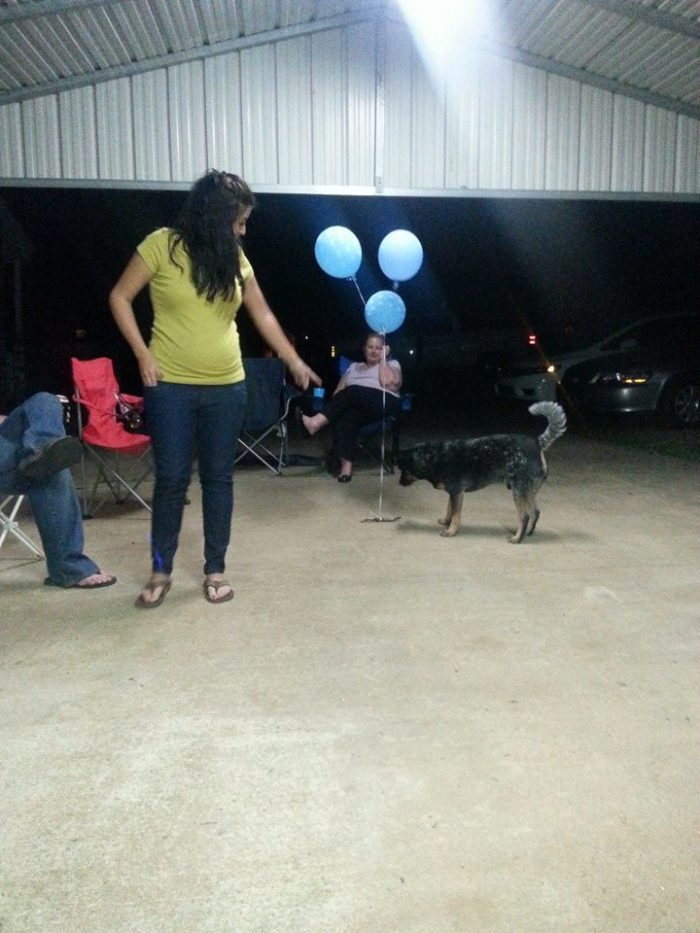
Trying to get Rudder to hold the stick with the balloons, haha! Nice face here! We were cracking up at this forever. It was great memories at the afterparty for everyone who stayed. Love everyone!
Now for these:
“My hair in curlers, in a rush, people will be here any second, I have no shoes but I am taking some pictures right this second, pics!” (Long title I know….probably should have utilized hashtags but I feel like I’ve used up my hashtag quota already this post. #nah #cantstopwontstop
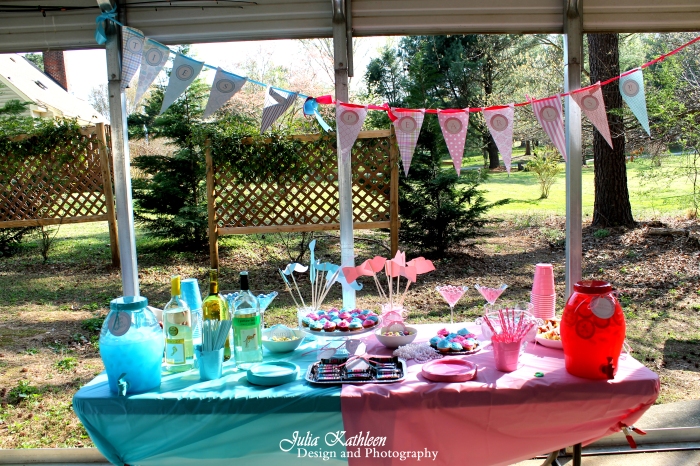
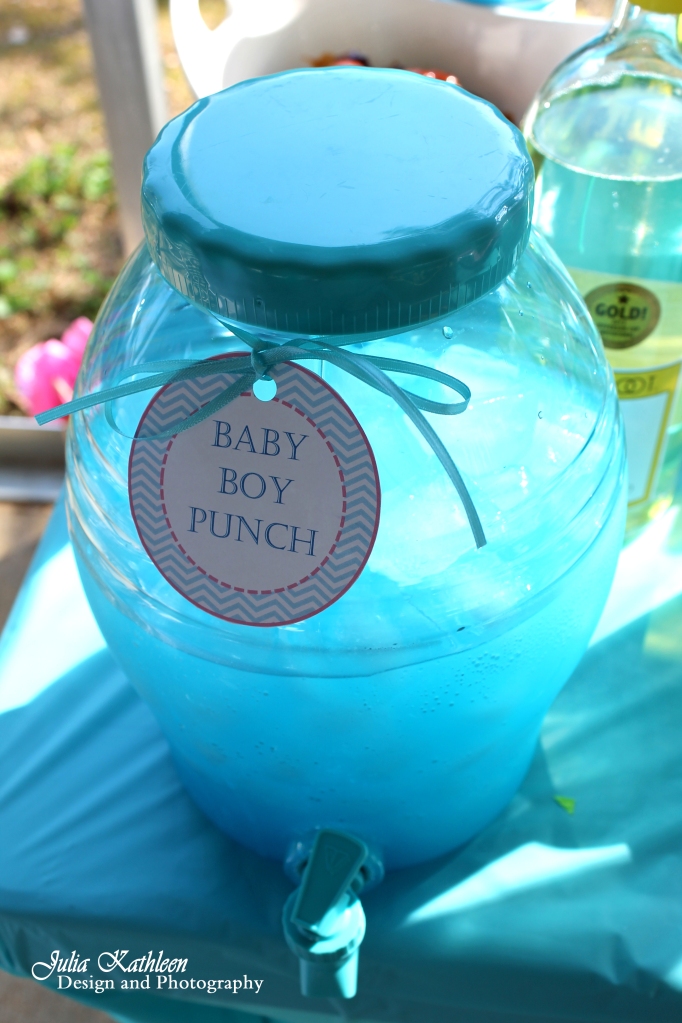
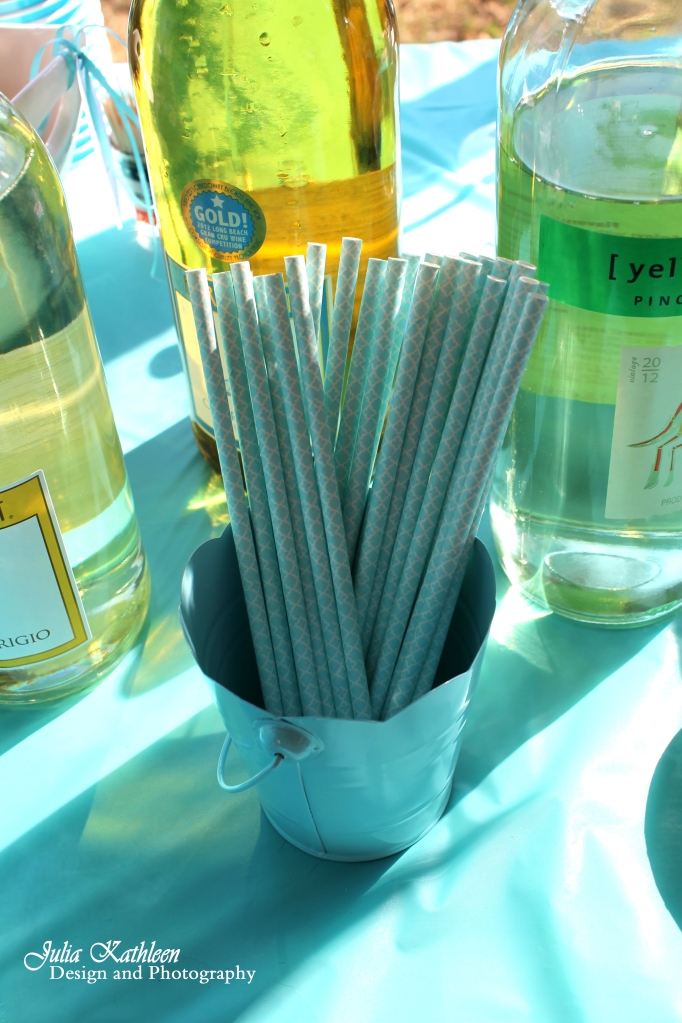
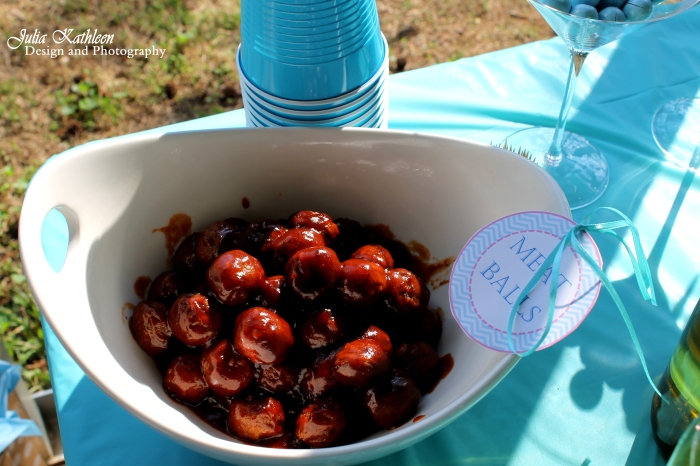
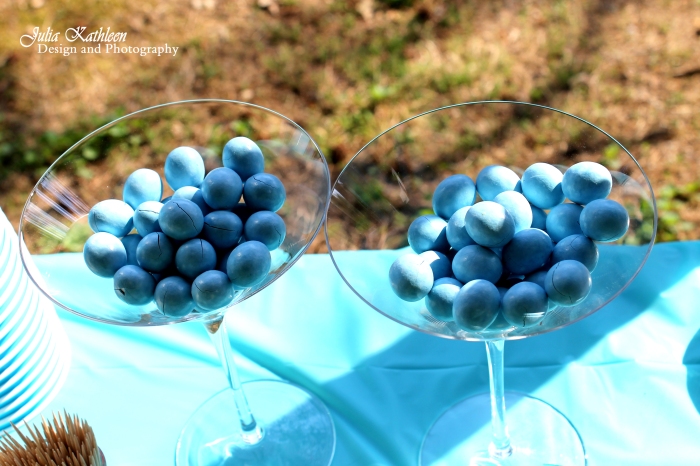
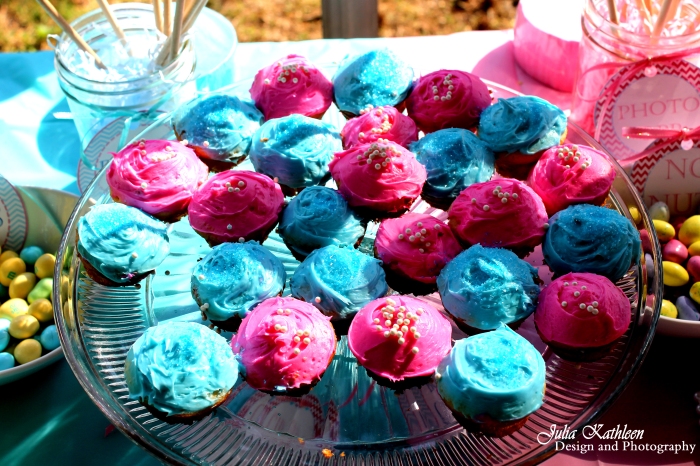
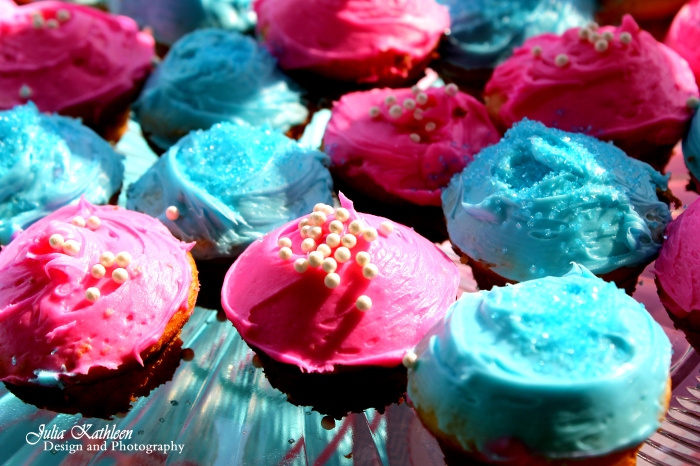
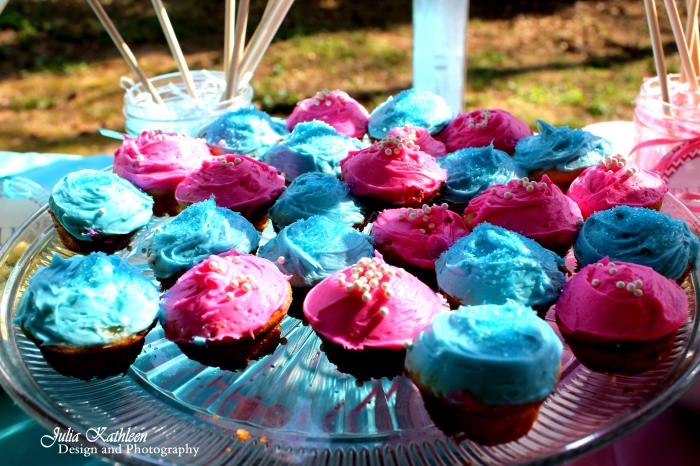
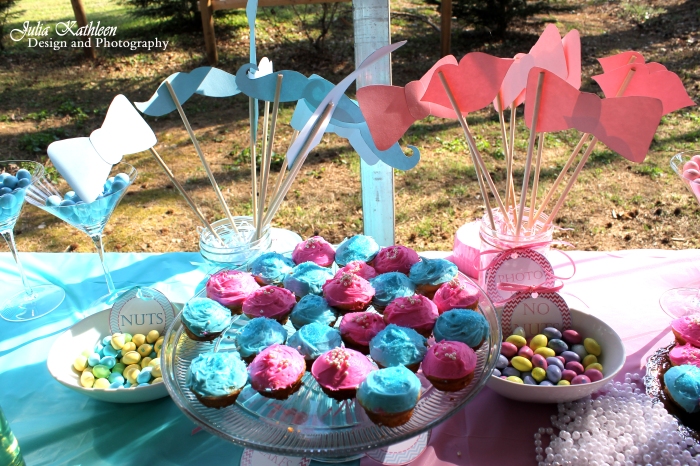
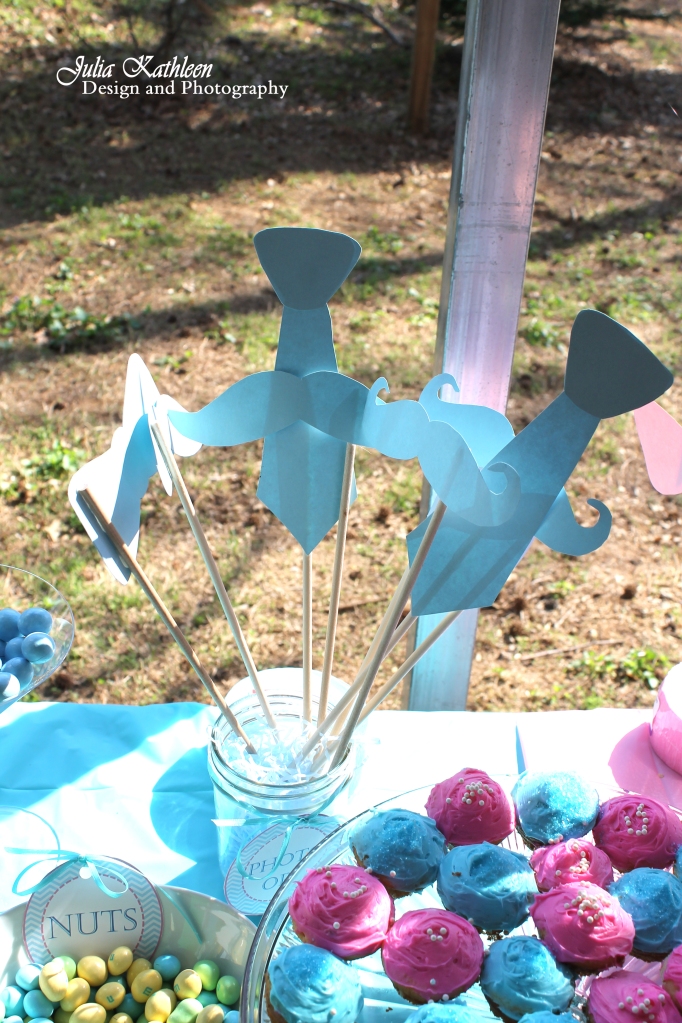


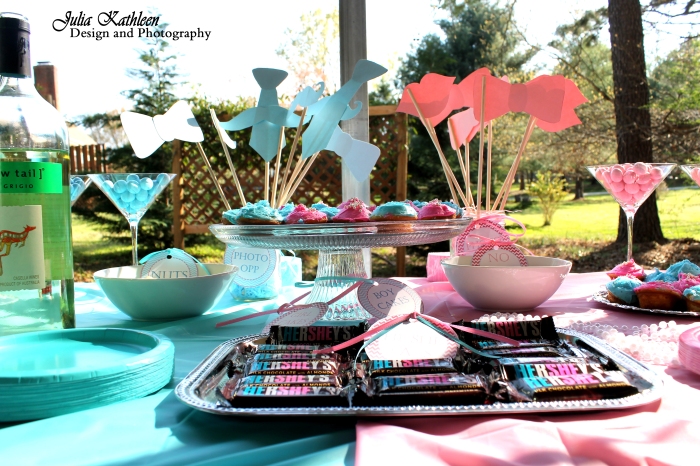
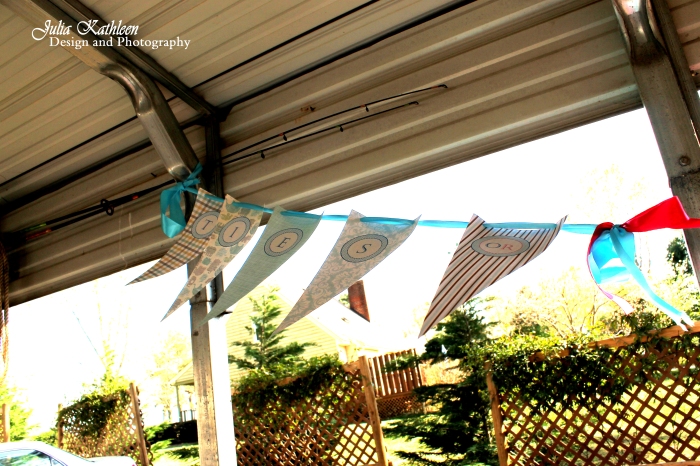
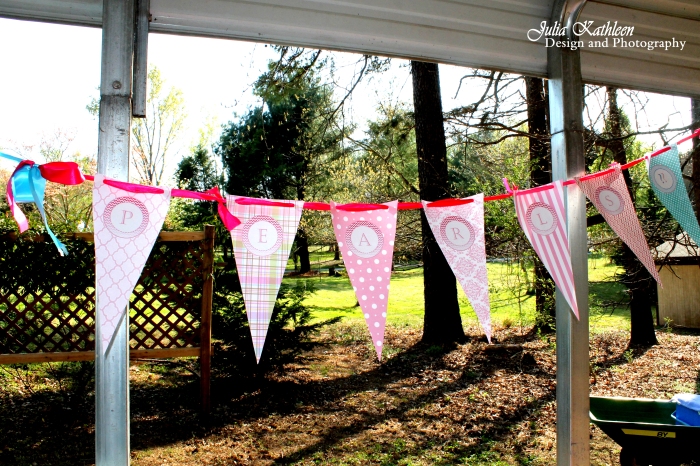
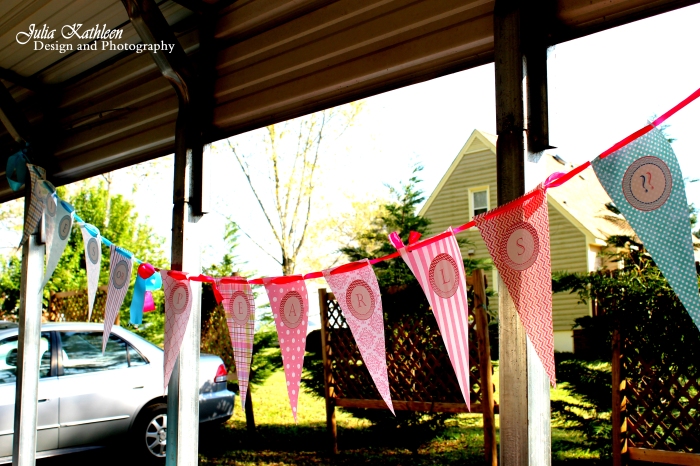
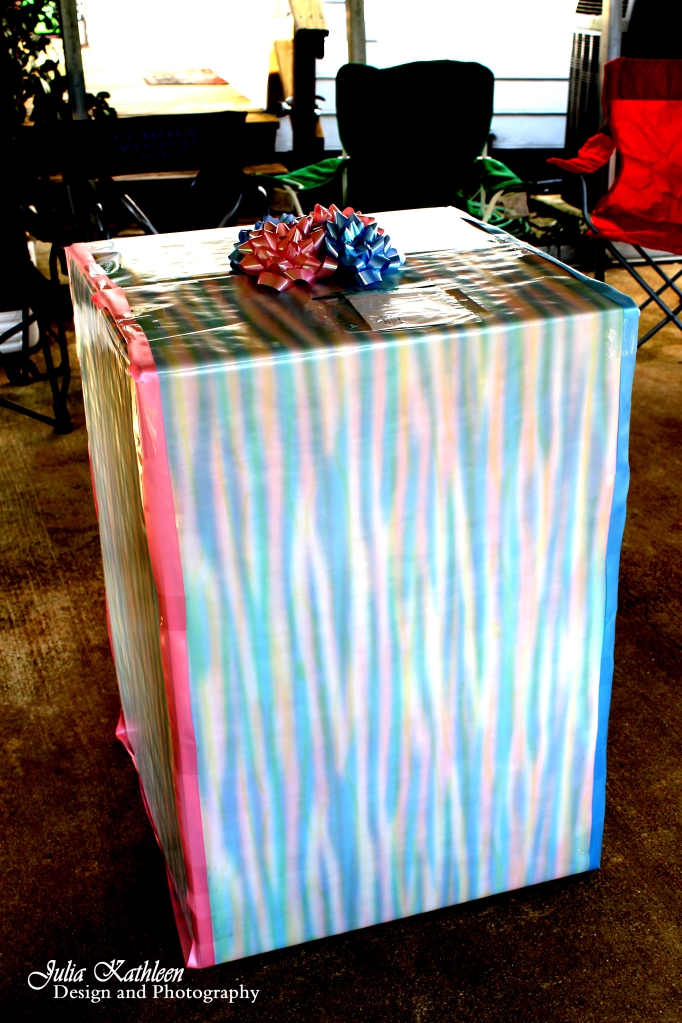
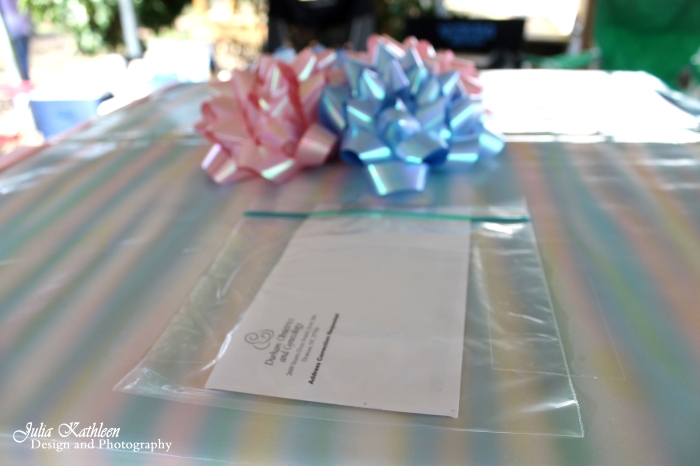
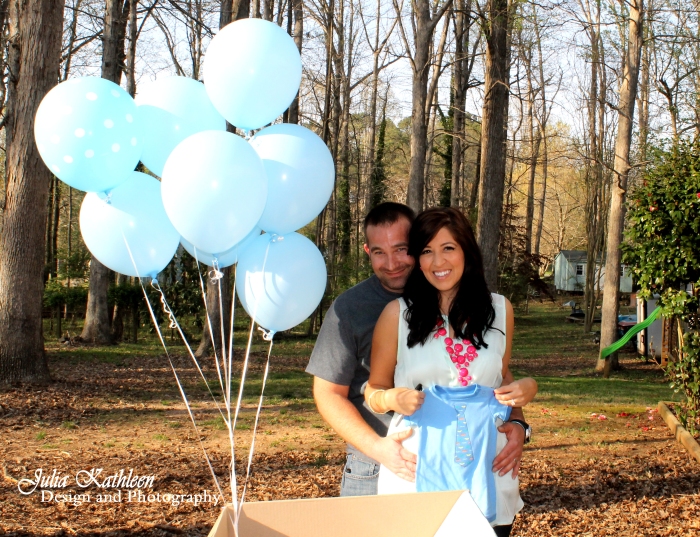
Photo Credit: Christi Dudek
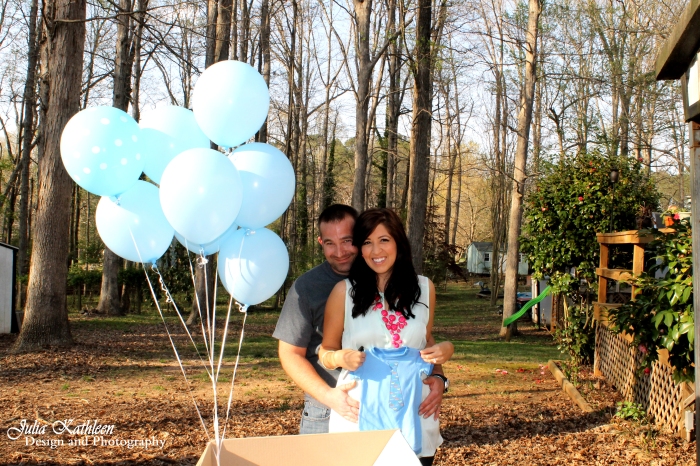
Photo Credit: Christi Dudek
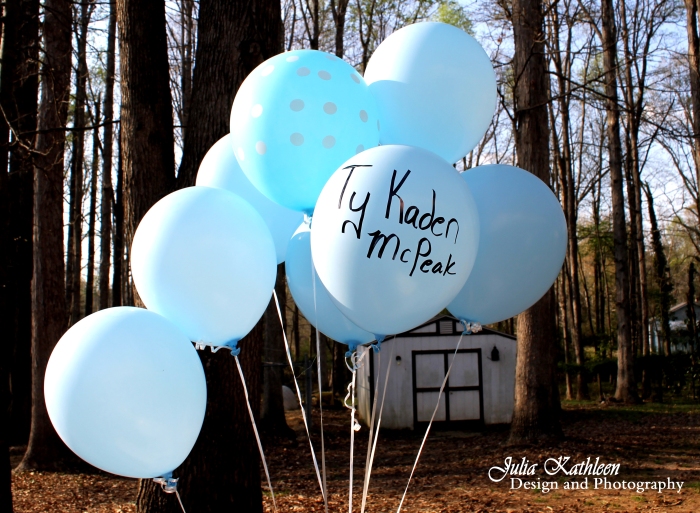
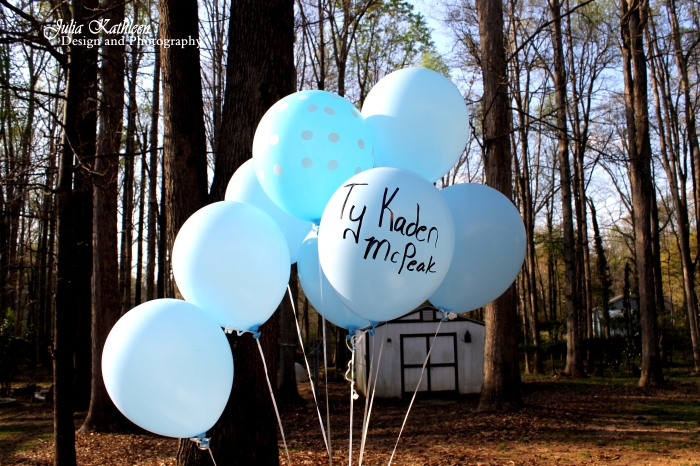
We have had our name picked out for years now, Please welcome Ty Kaden McPeak! Photo Credit: Christi Dudek

Christi also got us that cute creeper with a tie on it! “A tie for Ty”- SWEET FRIENDS OF OURS (so so so sweet.) Photo Credit: Christi Dudek
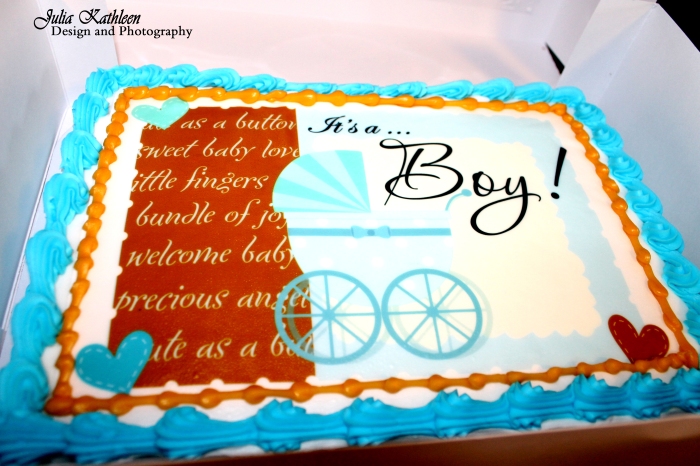
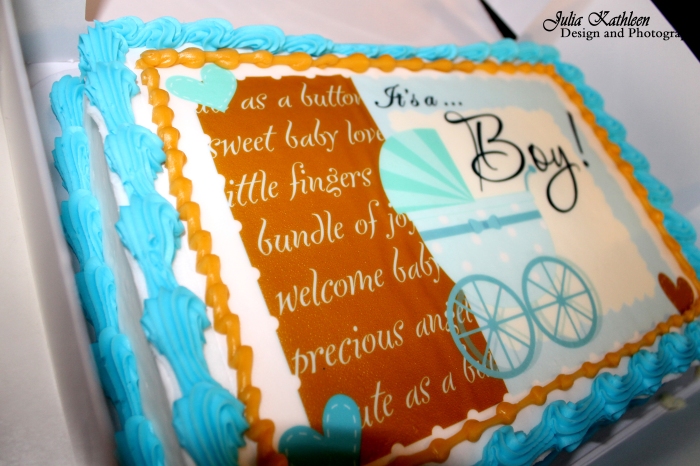
As if Christi didn’t do enough with the box and balloons, etc. etc. she also got us this gorgeous cake!!! Words can’t describe all the overwhelming love….love that girl!
So there you have it, I’m still sad it’s over. It was a lot of fun. I’m not sure we would do it again, that was really rough waiting 3 days before knowing the sex! We shall see. Haha as BJ says, “Lets just get through the first one FIRST.” haha. Good thinking….one kid at a time. 🙂
I added another post detailing how to DIY on everything you see above. Let me know what you think! Thanks! https://juliaism.wordpress.com/2014/04/26/our-diy-ties-or-pearls-gender-reveal-party-how-tos/